Sydney Orchid Centre
Culture notes for Paphiopedilum
Culture notes for Phragmipedium
Culture notes for Mexipedium xerophyticum
Culture Notes for Paphiopedilums
There are many experienced Paph growers who achieve excellent results growing Paphs using their own individual techniques. The way I grow my Paphs works well for me and I am happy to share it with you.
Experiment. Try different techniques and decide which technique works best for you under your own environmental conditions.
1. The Environment
Growing Paphs successfully requires an environment that is protected from rain and strong dry winds and provides some cover from direct sun.
An ideal environment would be a glasshouse where the temperature can be controlled to a maximum of 32 degrees C and a minimum of 12 degrees C. Not everyone can afford such an ideal environment, but fortunately there are many Paphs than can be grown outside these ideal conditions.
2. Potting Medium
I use a simple mixture of 3 parts of Orchiata bark, 1 part perlite and 1 part limestone chips. The principal growing medium is bark, the perlite is to improve aeration and drainage and the limestone chips serves for buffering any acid buildup.
For small plants, I use Orchiata 6-9mm with fine perlite, and for larger plants I use a 50:50 mixture of Orchiata 6-9mm and Orchiata 9-12mm bark and medium perlite.
Limestone chips are available commercially as Shellgrit, Calgrit and Selgrit. I prefer Selgrit which is produced by Omya in Bathurst NSW because the chips are uniform in size and does not have any fine bits.
3. Pots
I grow small plants from flask into individual 50mm tubes and as they get bigger, into 100mm pots and 120mm pots and even larger pots if necessary. Some Paphs, like some of the multiflorals can grow quite big.
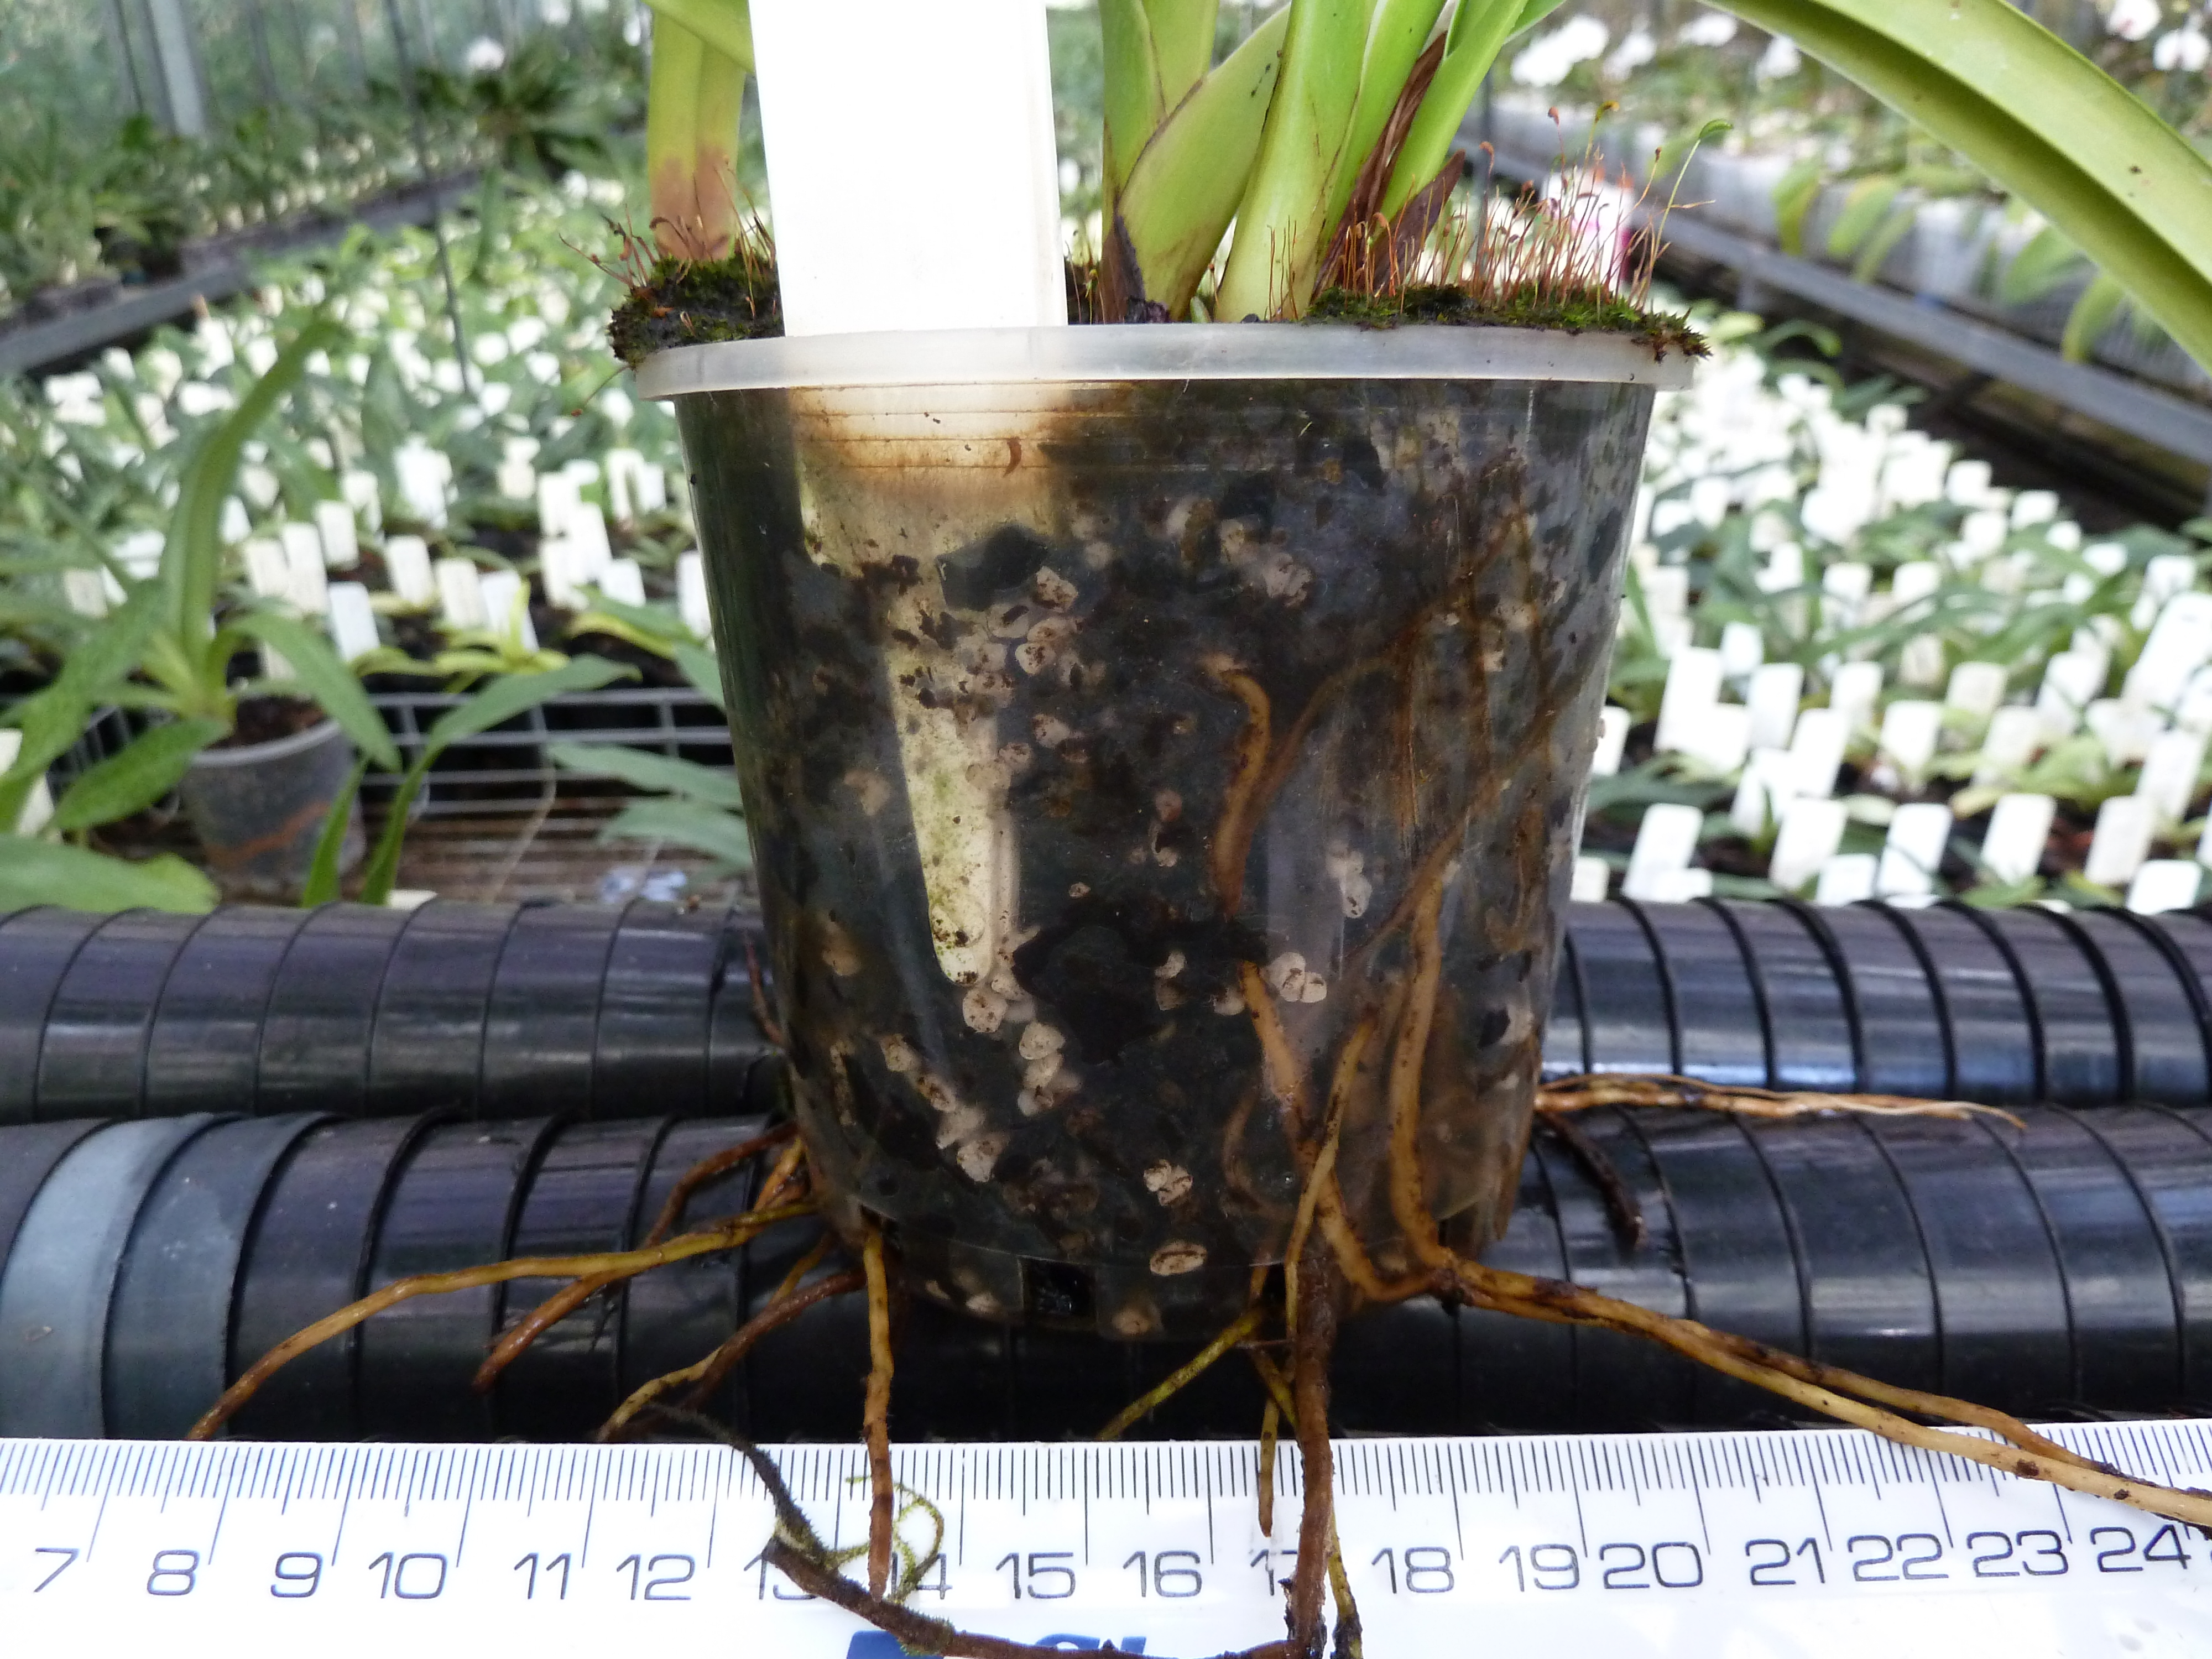
I prefer clear pots which I order from Garden City Plastics. Clear pots enable me to visualise the condition of the potting medium and the root system, as well as an indication whether the plants needs watering or not. The potting medium is dark when wet and as it dries it gets lighter in colour.
Most of my Paphs are grown in slimline pots. I prefer to use squat pots for Brachys and Parvis which have a shallower root system than other Paphs.
4. Watering and Fertilising
This is the most important factor that determines your success in growing Paphiopedilums. Most Paphs are killed by over-watering and it is important to know when and how often to water and fertilise your Paphs. My policy is to water only when it is necessary.
If you are new to growing Paphs, clear pots are extremely useful to indicate when to water. Clear pots enable you to assess the state of hydration of the potting medium. The potting medium is dark in colour when it is wet and as it dries, it gets lighter in colour. If there is moisture in the potting medium, it will appear as condensation on the walls of the pot in the early morning.
I fertilise my Paphs very time I water with a half-strength solution of Peters Excel which is a balanced fertiliser with trace elements and a high content of Magnesium, Calcium and Potassium.
Ensure that your Paphs are thoroughly watered* and allow the potting medium to almost dry out (about 3/4 dry is fine) before the next watering. Do not allow the medium to dry out completely as it becomes very difficult to hydrate again.
By allowing the medium to almost dry out, the roots have to grow to search for water and nutrients. If you keep your Paphs constantly well watered and fed, you will turn them into "zoo animals" unable to find food for themselves, which will result in a very poor root system.
*Tip: If you have only a few Paphs, you can soak the pots in a weak solution of fertiliser for about half an hour and then allow to drain until the next watering.
The frequency of watering and fertilising is particularly important in winter. Keep your plants drier in winter when even just a light misting on a bright sunny morning will suffice to keep the plants alive until spring.
5. Temperature & Humidity
Any Paph will grow in an environment where the temperature can be controlled to a maximum of 32 degrees C and a minimum of 12 degrees C. Some parts of coastal Sydney and the central coast are very lucky to have such mild weather. There are many Paphs that will tolerate temperatures outside this range and some Paphs may actually require a change in temperature in order to initiate flowering. It is important to know which Paph can be grown without heating in your own environment.
Our hot dry summers are very hostile to Paphs. Temperatures in summer may go into the high 40s with humidity down to 10%. On days like these, mist frequently, damp down the floors and keep up the humidity.
6. Light
Most Paphs require some form of cover to protect them from direct sunlight and generally, about 50% to 70% shading works nicely. However, different Paphs require different amount of light to grow and flower well, for example, many of the multifloral Paphs need relatively high light to grow and flower and others like Paph. liemianum prefer very low light.
High light makes the leaves appear yellowish-green, shorter and stouter. Low light makes the leaves a dark green colour and the leaves tend to be longer and soft.
I try to give my Paphs as much light as I can without burning them or making them look yellow and stunted. Adequate light also makes the plant more resistant to fungal and bacterial problems.
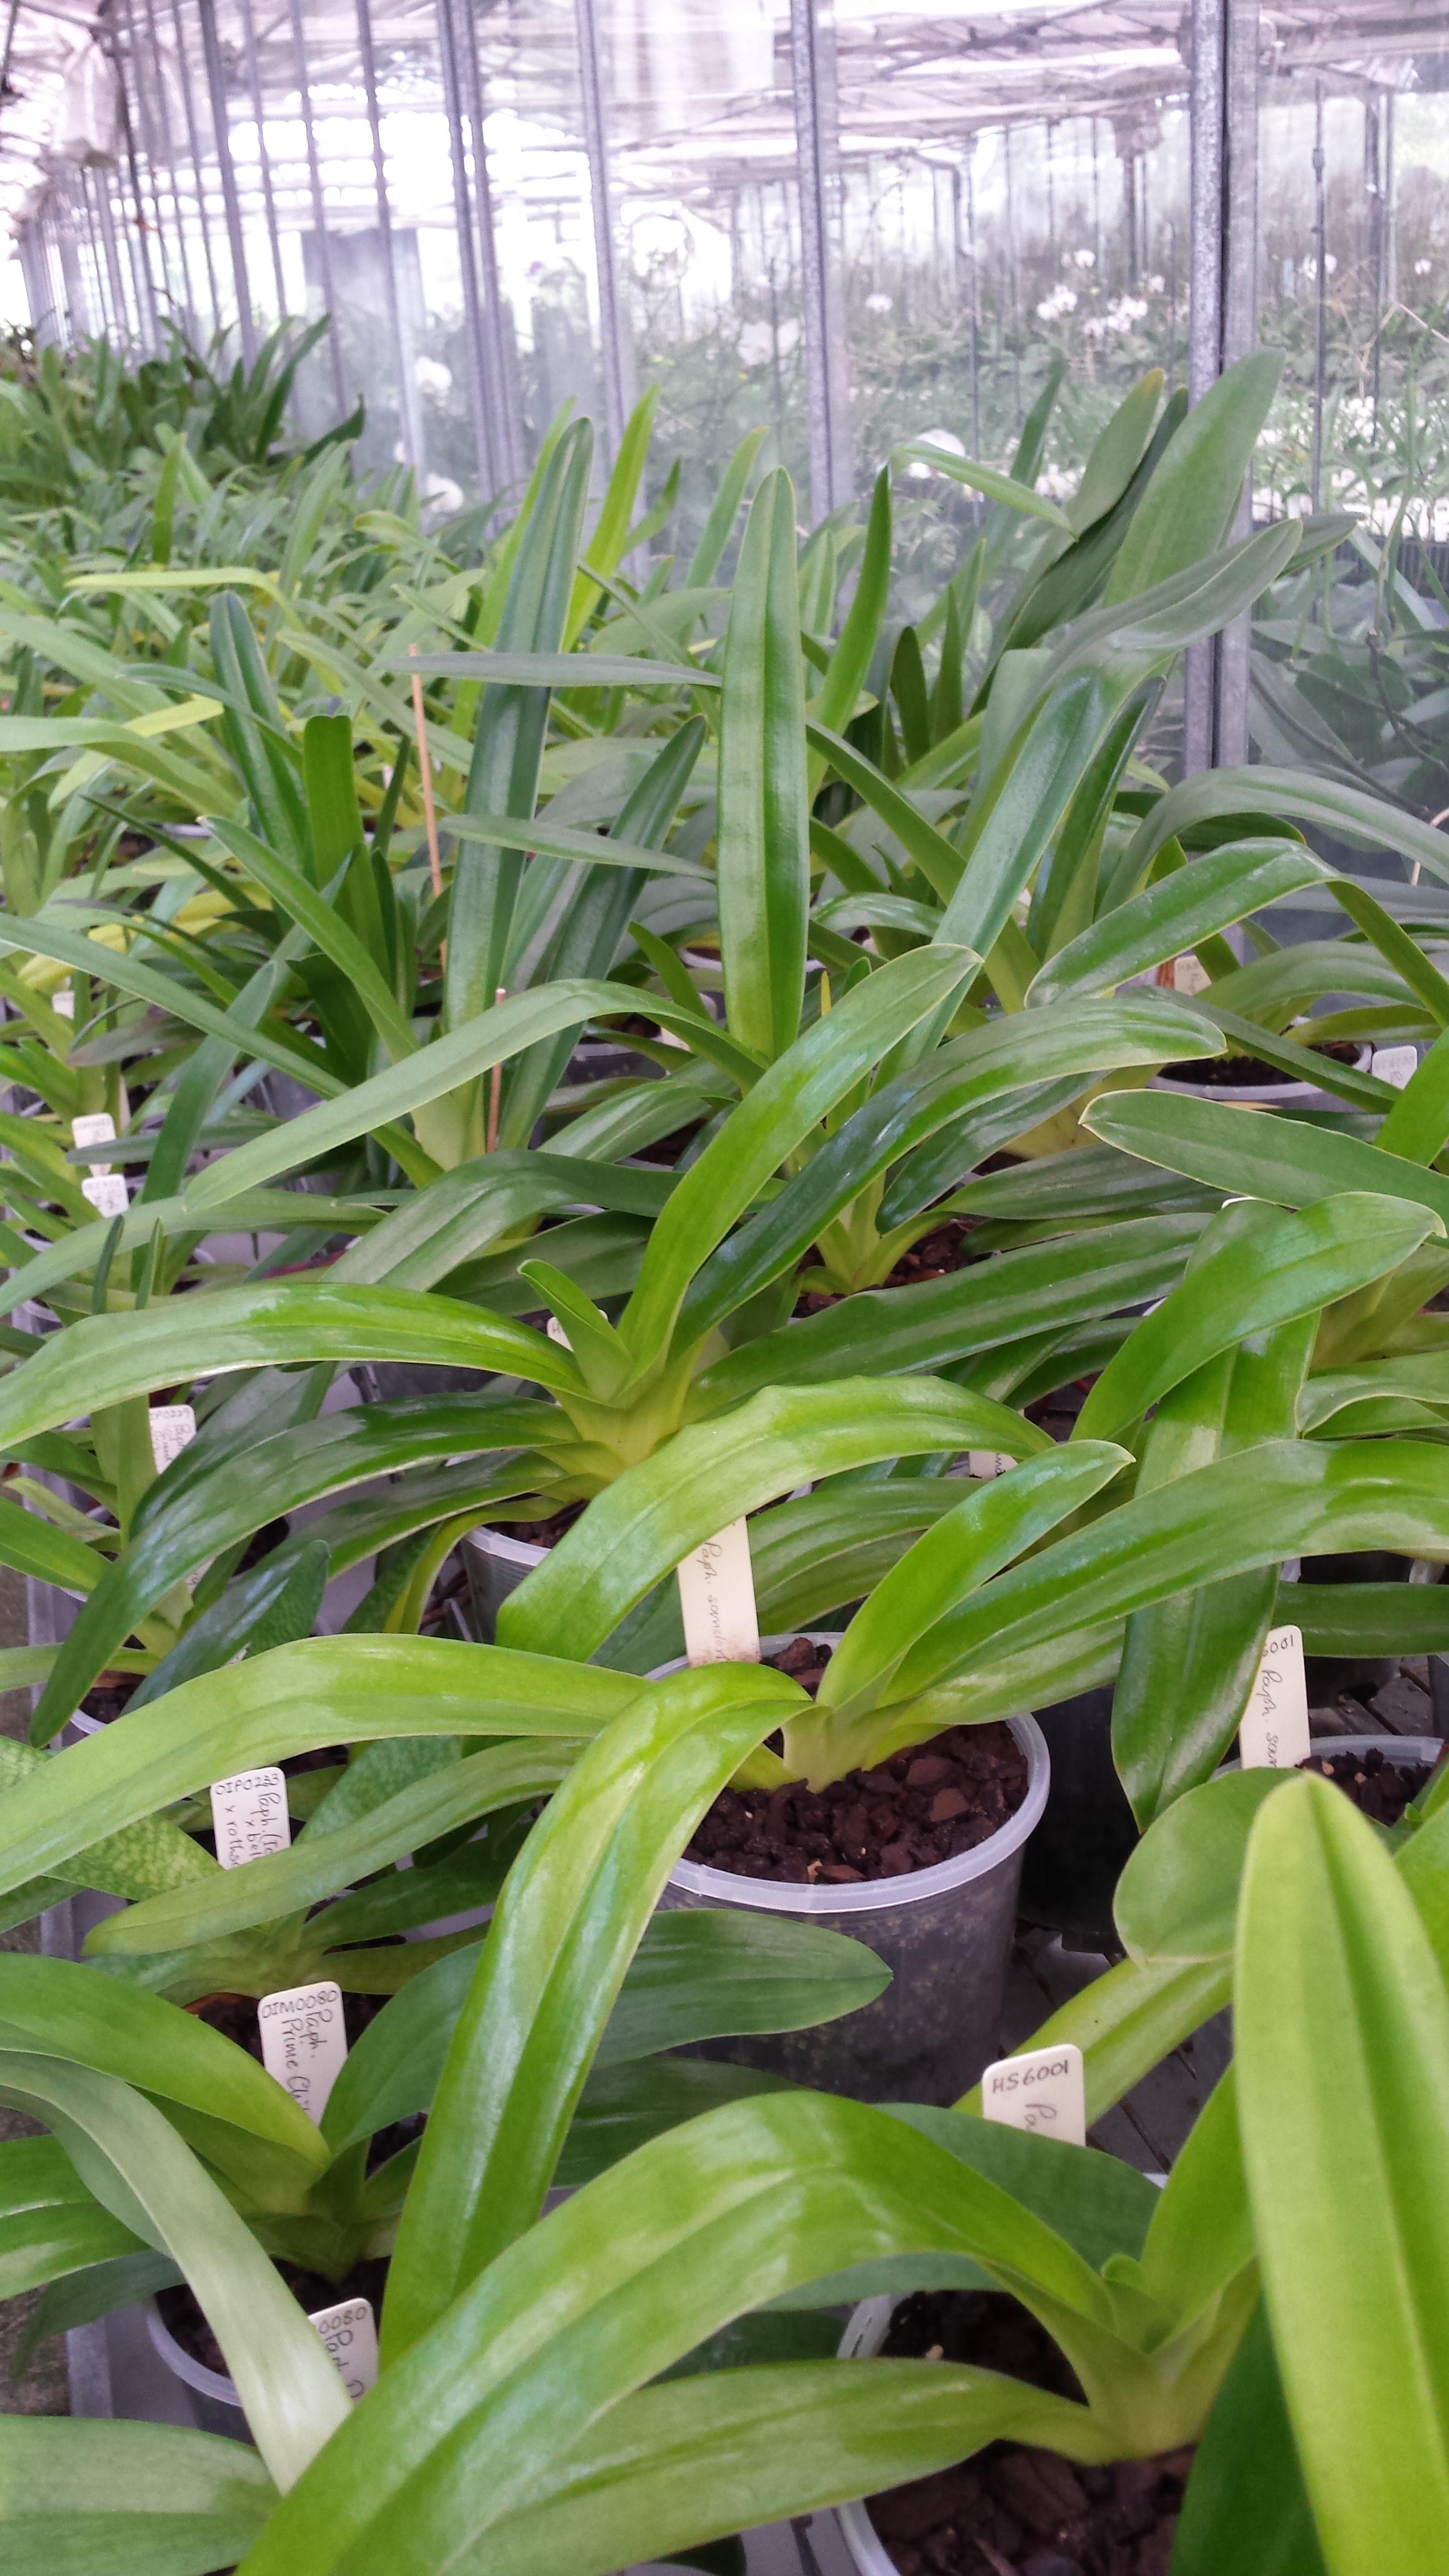
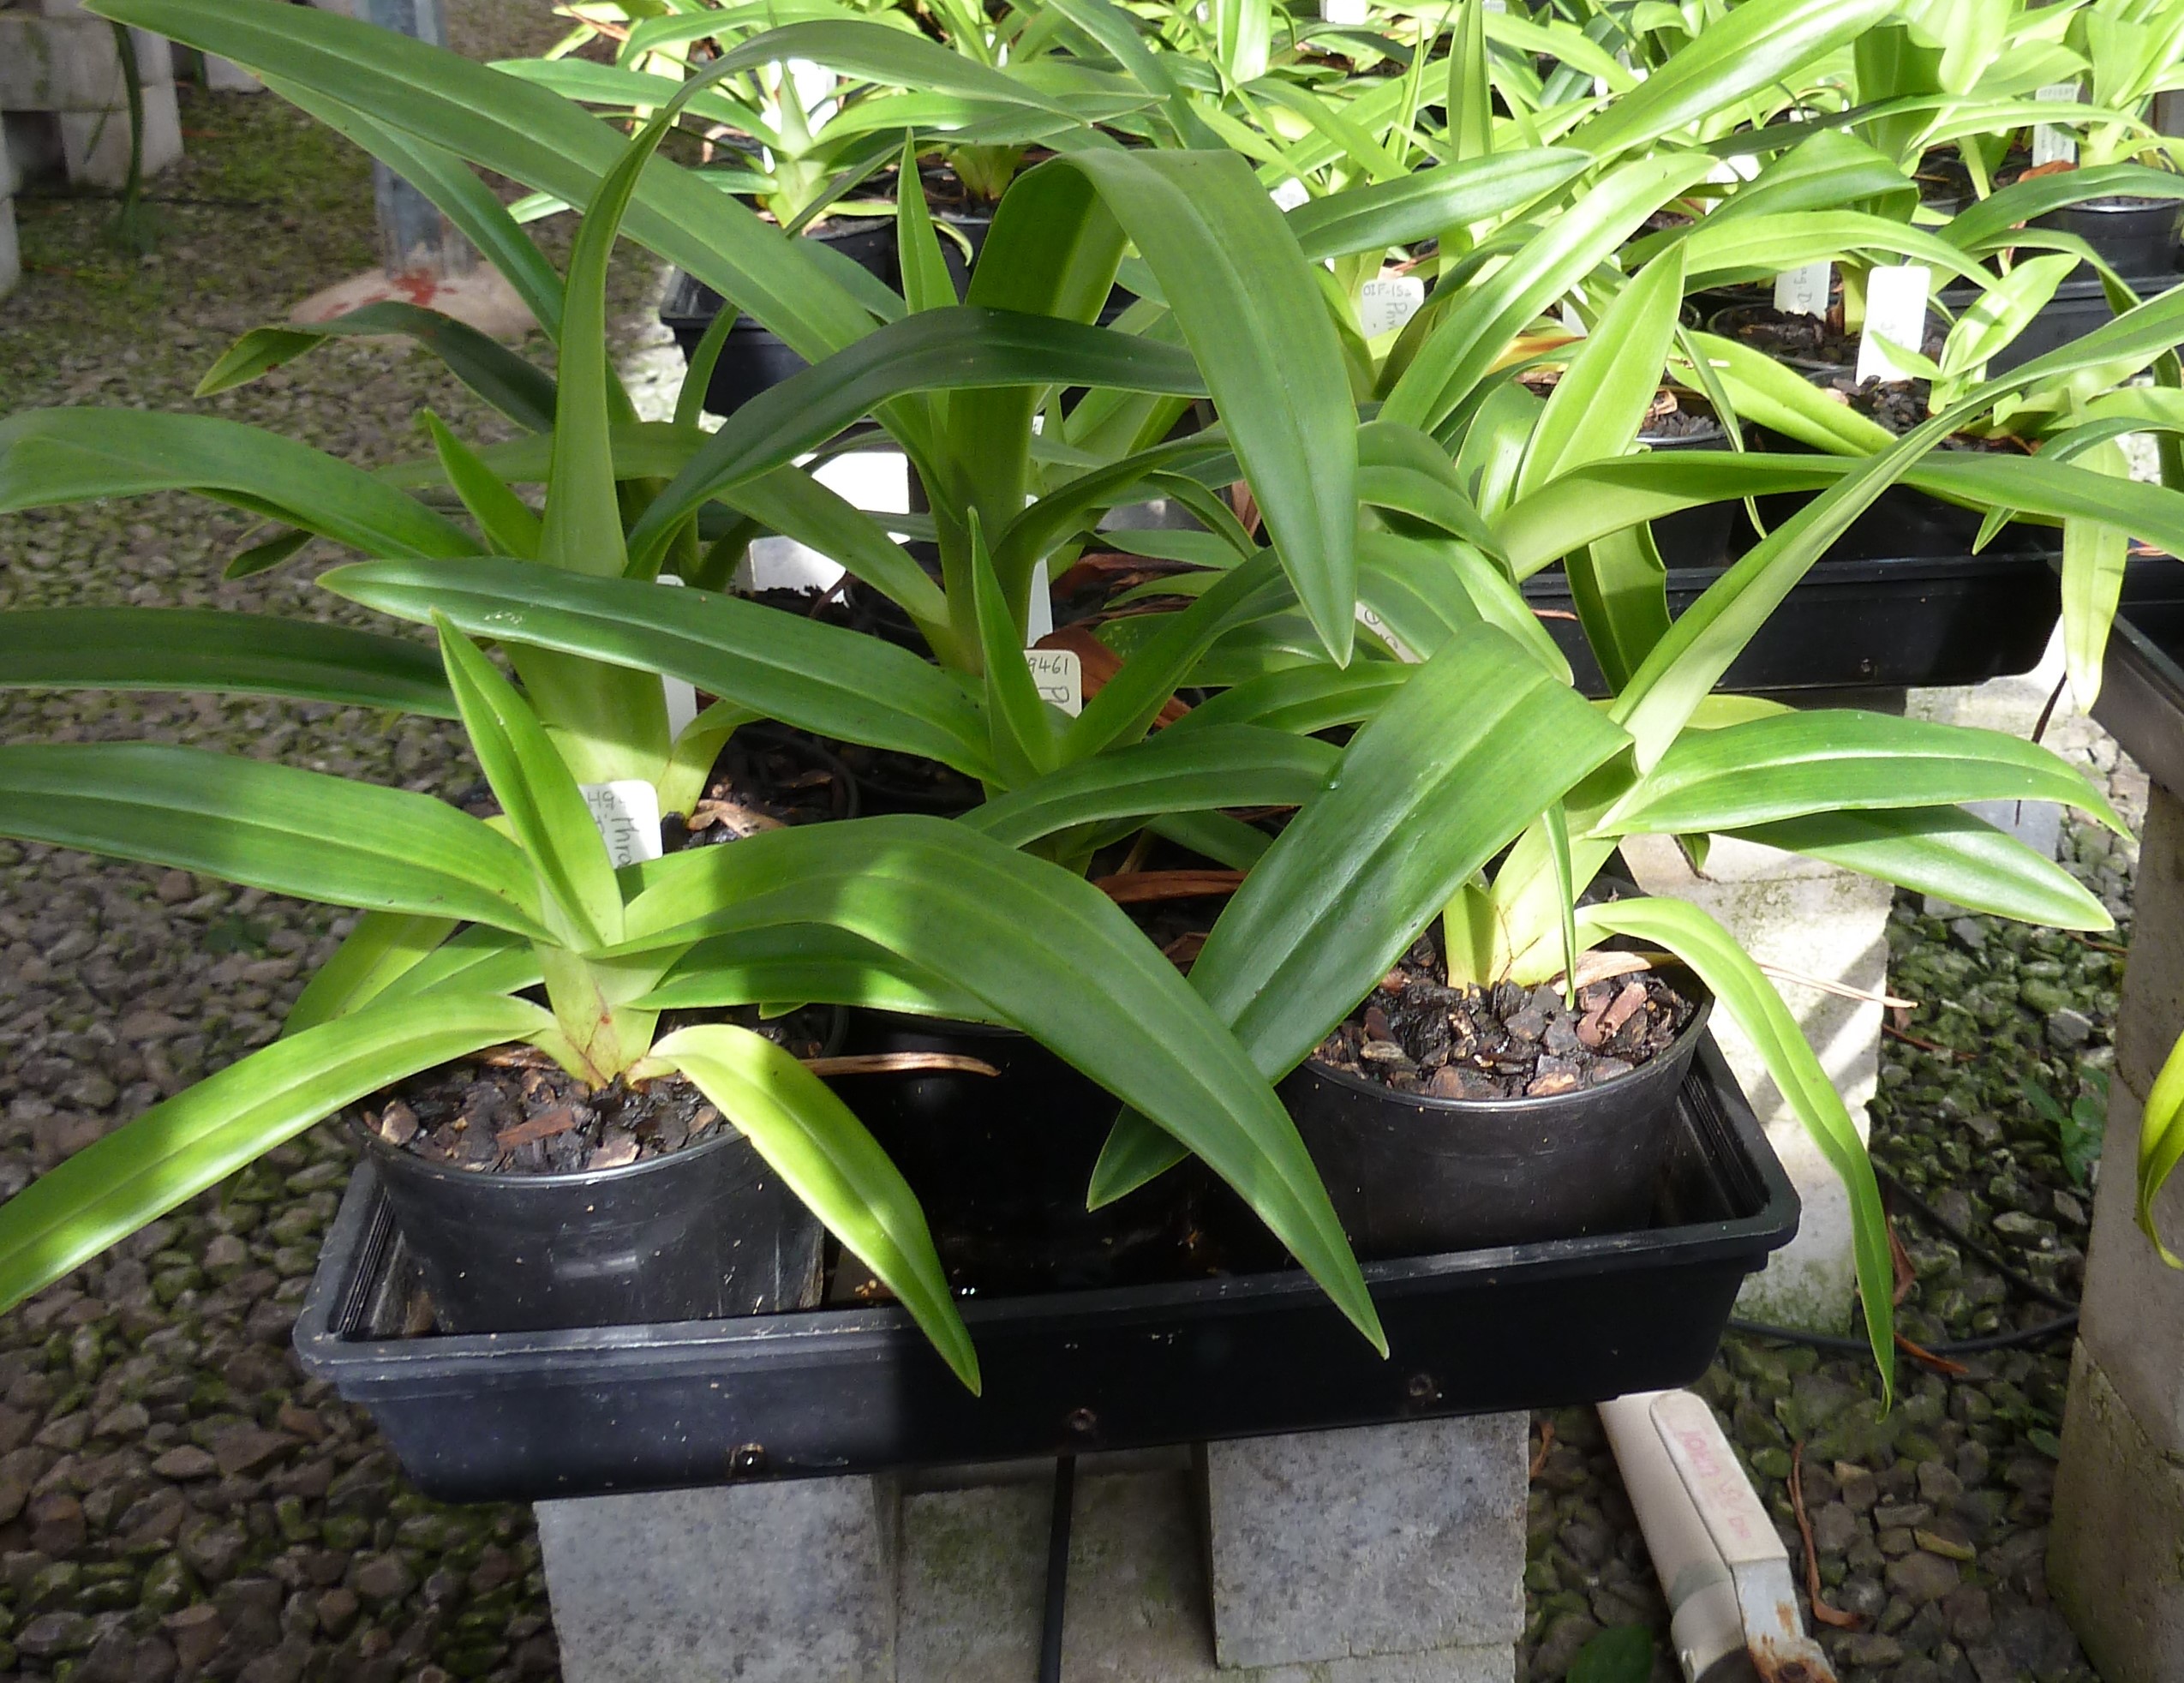
A good indication that the plant is receiving the correct amount of light is the leaves have a medium green colour. A natural sheen on the leaves indicates a healthy plant. (See picture below.)
7. Pest and Disease
Paphs are relatively pest and disease-free if they are well looked after and given adequate spacing and ventilation.
The most serious problem with Paphs is bacterial and fungal rot. The cause of these rots is often due to prolonged presence of water in the crowns, leaf axils and base of the plants and constantly wet roots. Once a rot sets in and the body of the plant is affected, there is little chance of saving the plant. If a fungal or bacterial spot is seen on a leaf, cut the affected leaf off to stop the rot from spreading and paint the cut edge of the leaf with an antiseptic agent.
Mealybugs and scales are pests that will suck your plant dry. They are most problematic in spring and autumn when they appear as fluffy white spots or patches on the leaves or flower stems. Mealybugs are worse than scales as they often hide among the roots where they cannot be seen. The best way to deal with these pests is to give the plants a spray of a systemic insecticide like Confidor or Dimethoate every 2 weeks for at least 3 times. Check for these pests periodically to make sure they do not return, as some unhatched eggs may still be present on the plants.
Keep an eye for snails, slugs and the occasional caterpillar.
Virus is not a major problem with Paphs at the moment but as more and more people grow Paphs, it may become a problem as with many other orchids. Read Bob Wellenstein's article on Virus in Slipper Orchids
Culture Notes for Phragmipediums
There are many excellent growers of Phragmipedium who grow their Phrags differently from what I do. However, what I do with my Phrags works perfectly for me. My Phrags are healthy and they flower for me, except for the two Phrag. kovachii that have never flowered since I bought them in 2009, that is, 11 years ago!
Phrag. kovachii
Phragmipediums are Slipper Orchids of South America and are much easier to grow than Paphiopedilums which are Asiatic.
1. Watering & Fertilising
Unlike Paphiopedilums which are often killed by over-watering, Phragmipediums enjoy a constantly wet potting medium and will suffer poorly if the potting medium is allowed to dry out completely over a prolonged period.
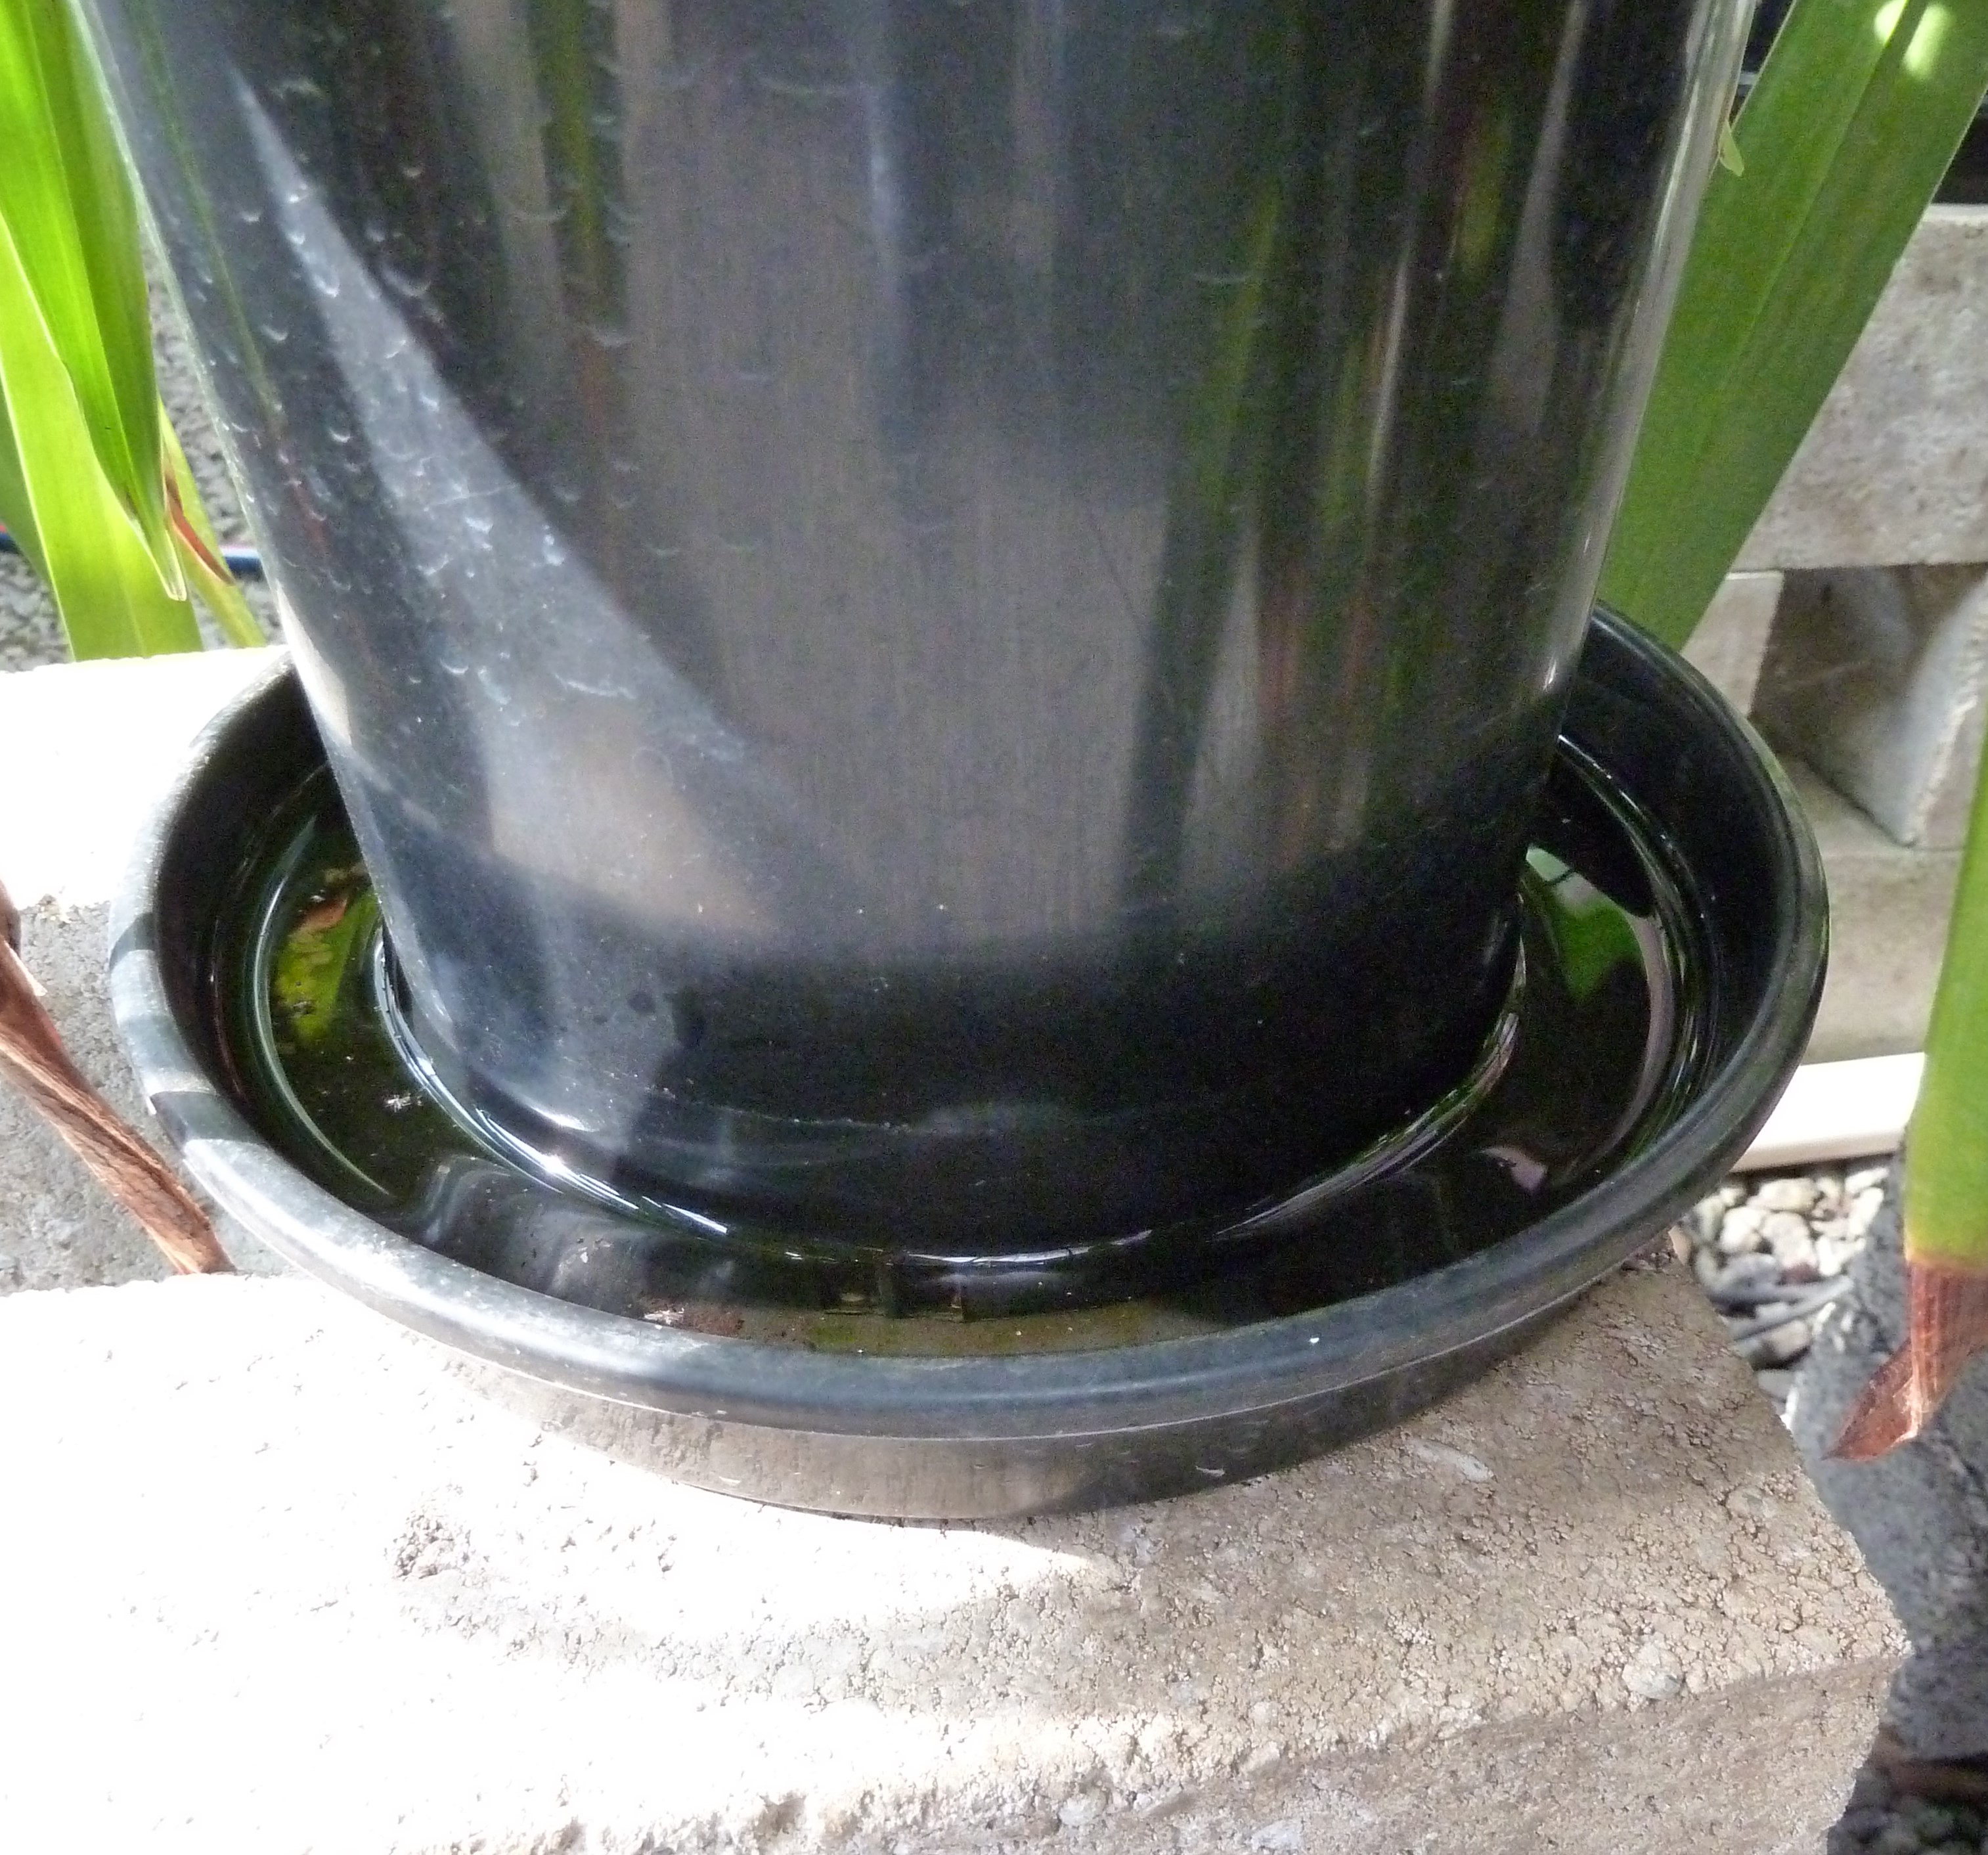
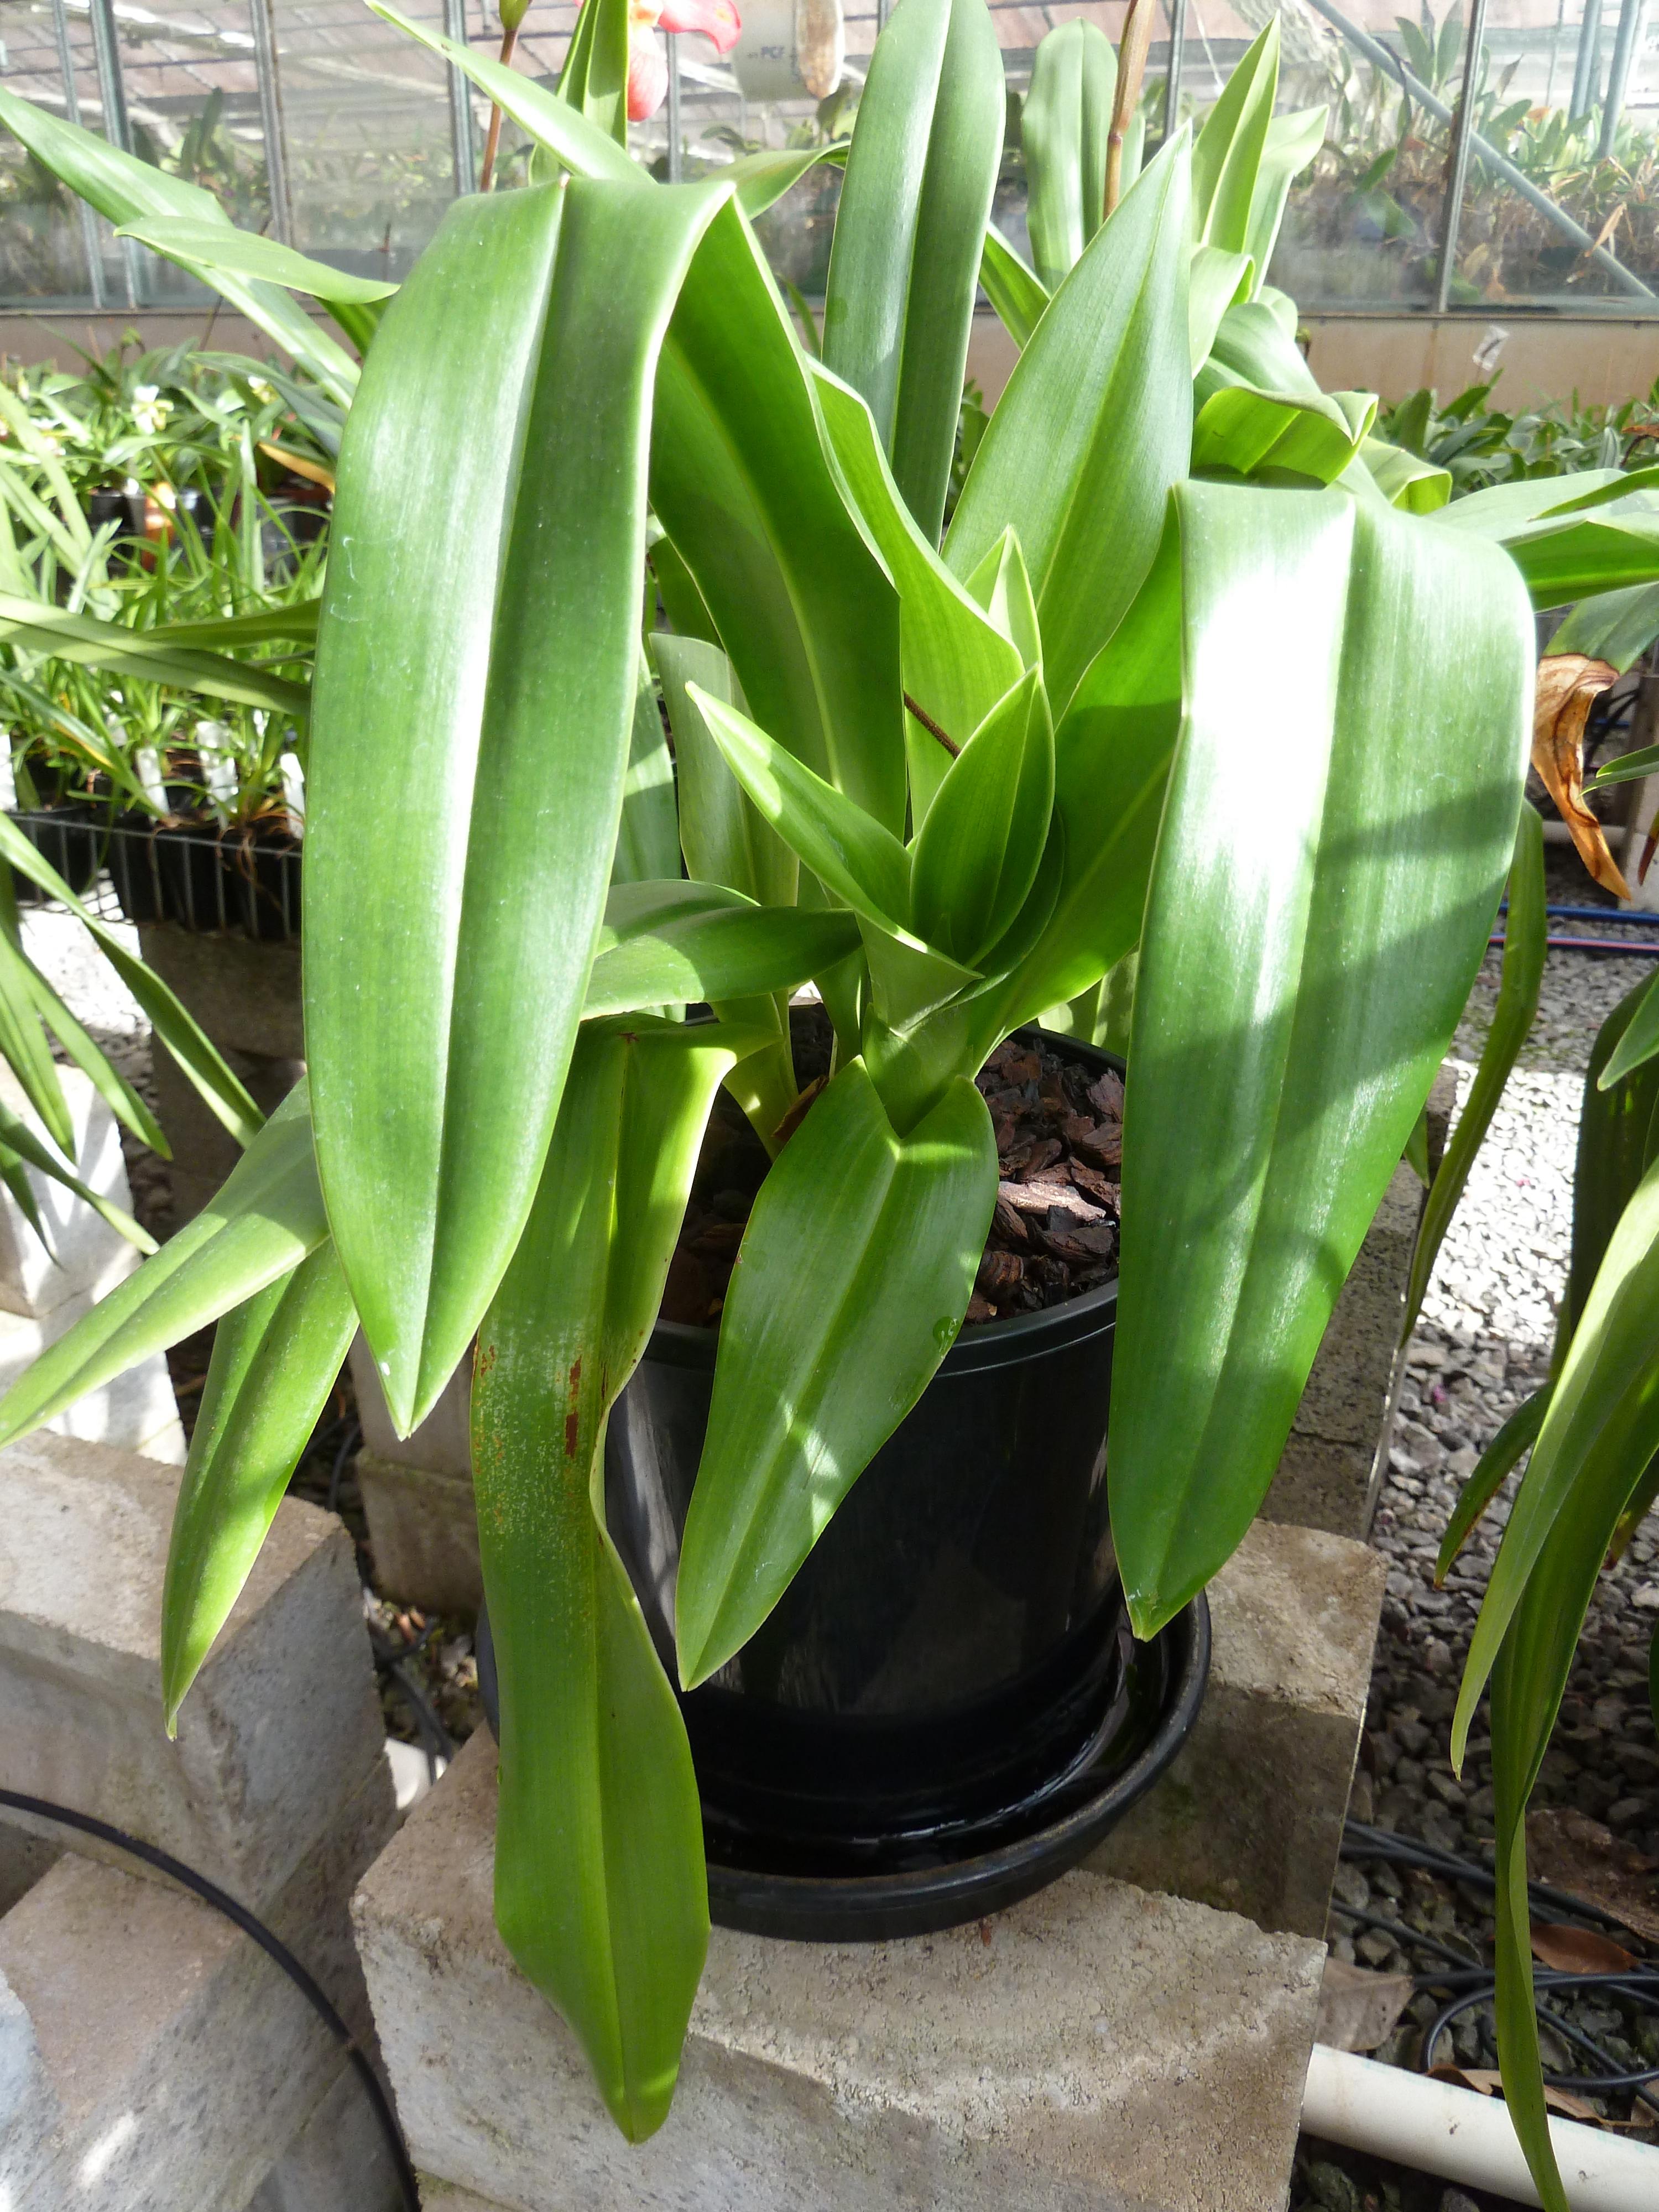
To keep the potting medium constantly wet, I sit the pot in 1 cm of water or weak fertiliser solution all the time.
I use a low saucer (pic.1) for my bigger plants and a grass tray (pic.2) where little holes have been drilled into the sides about 1 cm from the base. Grass trays are available from Garden City Plastics.

Pot sitting in water
Tray
In summer, I water the Phrags frequently with a half-strength solution of Peters Excel over the top of the plants. Any excess water runs out of the saucer or out of the holes drilled into the sides of the tray.
In winter, I do not allow water to splash onto the leaves as this may lead to unsightly bacterial or fungal spots on the leaves. Instead, I top-up the saucer or tray with water or a weak fertiliser solution.
2. Potting Medium
I use the same potting medium as I use for Paphiopedilum, which is, 3 parts Orchiata bark, 1 part perlite and 1 part Sel Grit.
3. Pots
I initially grew my Phrags in clear pots. When I realised that the Phrags enjoy a wet potting medium by sitting in water and noticing heathy roots emerging out of the pots, I now grow them in black pots as there is no necessity to use clear pots which are more expensive.
Roots grow out of pot into the saucer filled with water or dilute fertilser solution.
